Quick Start Guide
Get your first CastellanAI agent running in under 5 minutes.
CastellanAI is currently in final development. This guide shows what to expect when we launch. Join our waitlist to get early access!
CastellanAI has two web interfaces: the Customer Portal for account and agent management, and the Security Dashboard for monitoring threats. See Introduction for details.
Prerequisites
Before you begin, ensure you have:
- A CastellanAI account (Join the waitlist to be notified at launch)
- An endpoint running Windows 10+, Ubuntu 20.04+, or macOS 12+
- Administrator/root access on the endpoint
Step 1: Log in to Customer Portal
- Navigate to https://castellanai.com/portal
- Enter your email and password
- Click Sign In
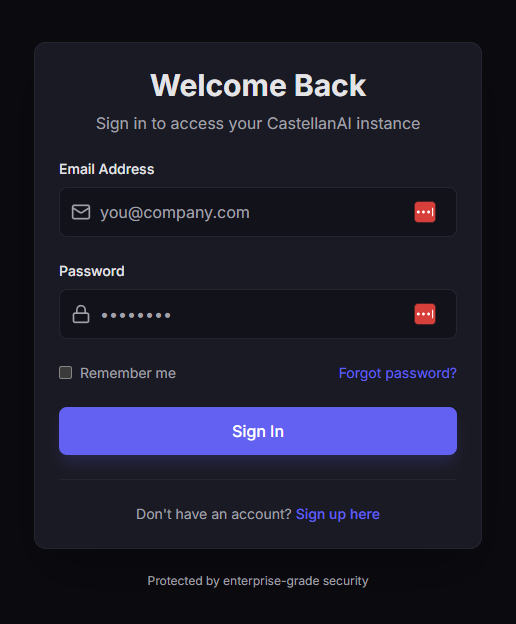 The Customer Portal login page.
Step 2: Download the Agent
- In the Customer Portal, click Install Agent in the Quick Actions section
- Select your platform from the options below
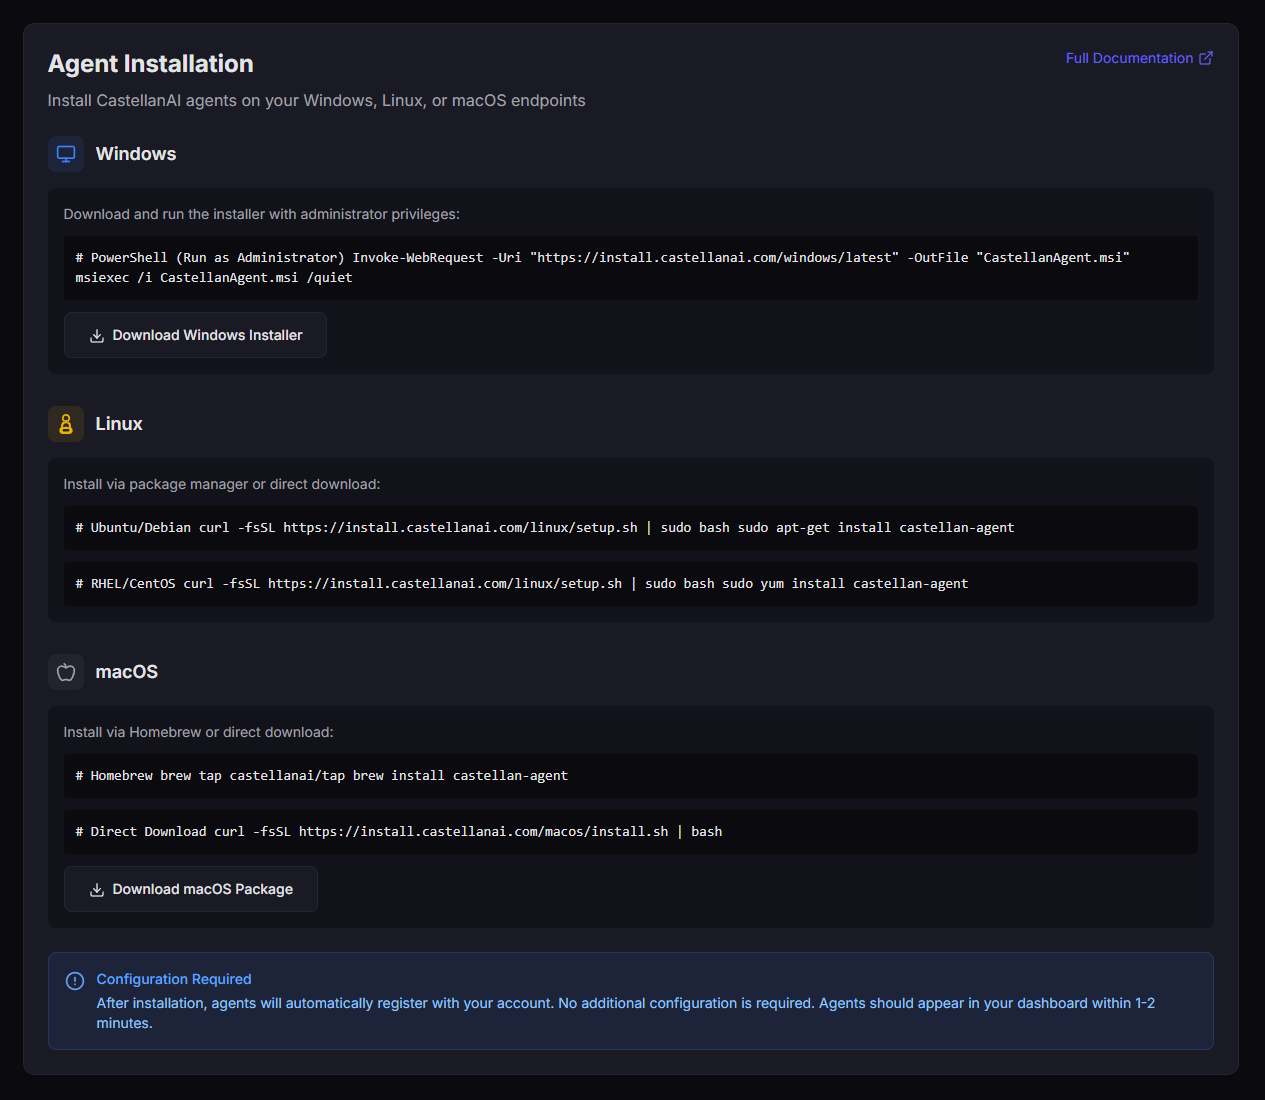 The Download Agent dialog showing platform options for Windows, Linux, and macOS.
| Platform | Installer Type |
|---|---|
| Windows | .exe installer |
| Linux | .deb or .rpm package |
| macOS | .pkg installer |
Step 3: Install the Agent
- Windows
- Linux
- macOS
Windows Installation
# Run the installer as Administrator
.\CastellanAgent-Setup.exe
Right-click the installer and select "Run as Administrator" to ensure proper installation.
Linux Installation
- Debian/Ubuntu
- RHEL/CentOS
# Install the .deb package
sudo dpkg -i castellan-agent.deb

# If dependencies are missing, run:
sudo apt-get install -f
# Install the .rpm package
sudo rpm -i castellan-agent.rpm

# Or use dnf/yum:
sudo dnf install castellan-agent.rpm
macOS Installation
# Install the package
sudo installer -pkg CastellanAgent.pkg -target /
After installation, grant Full Disk Access to the agent in System Preferences → Security & Privacy → Privacy → Full Disk Access.
Step 4: Configure the Agent
During installation, you'll be prompted to enter:
| Field | Description | Where to Find |
|---|---|---|
| Customer ID | Your unique identifier | Portal → Settings |
| Hub URL | The Worker API endpoint | Provided during signup |
Both values can be copied directly from the Customer Portal's agent installation dialog to avoid typos.
Step 5: Verify Connection in Customer Portal
- Return to the Customer Portal at castellanai.com/portal
- Click Agents in the navigation
- Your new agent should appear with status Connected
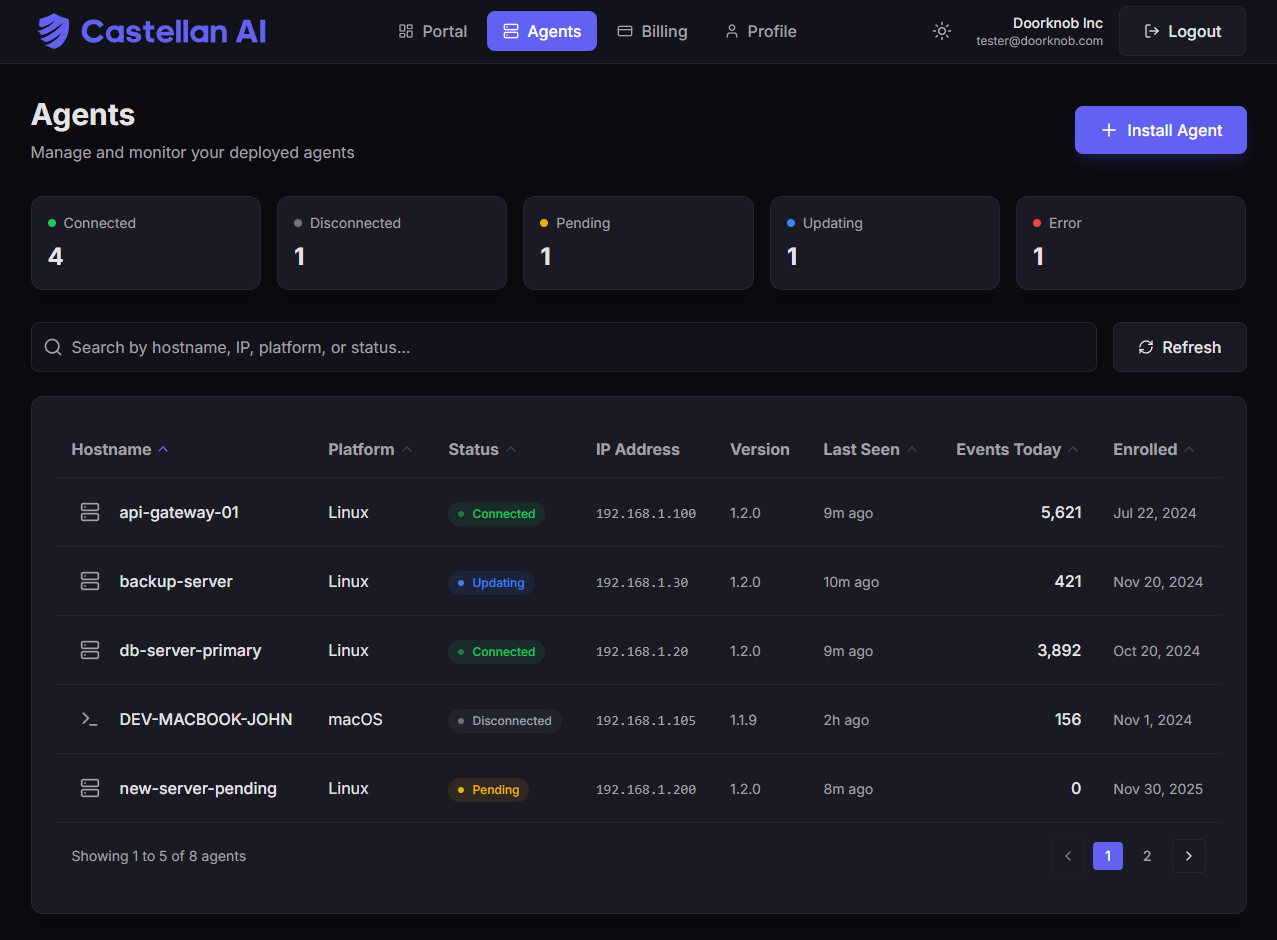 The Customer Portal's Agents page showing your newly installed agent with green "Connected" status.
| Status | Indicator | Meaning |
|---|---|---|
| Connected | 🟢 Green | Agent is online and sending events |
| Disconnected | 🔴 Red | No connection in last 5 minutes |
Step 6: Open Security Dashboard
- In the Customer Portal, click Open Security Dashboard in Quick Actions
- You'll be redirected to your Security Dashboard
- Navigate to Security Events to see events from your endpoint
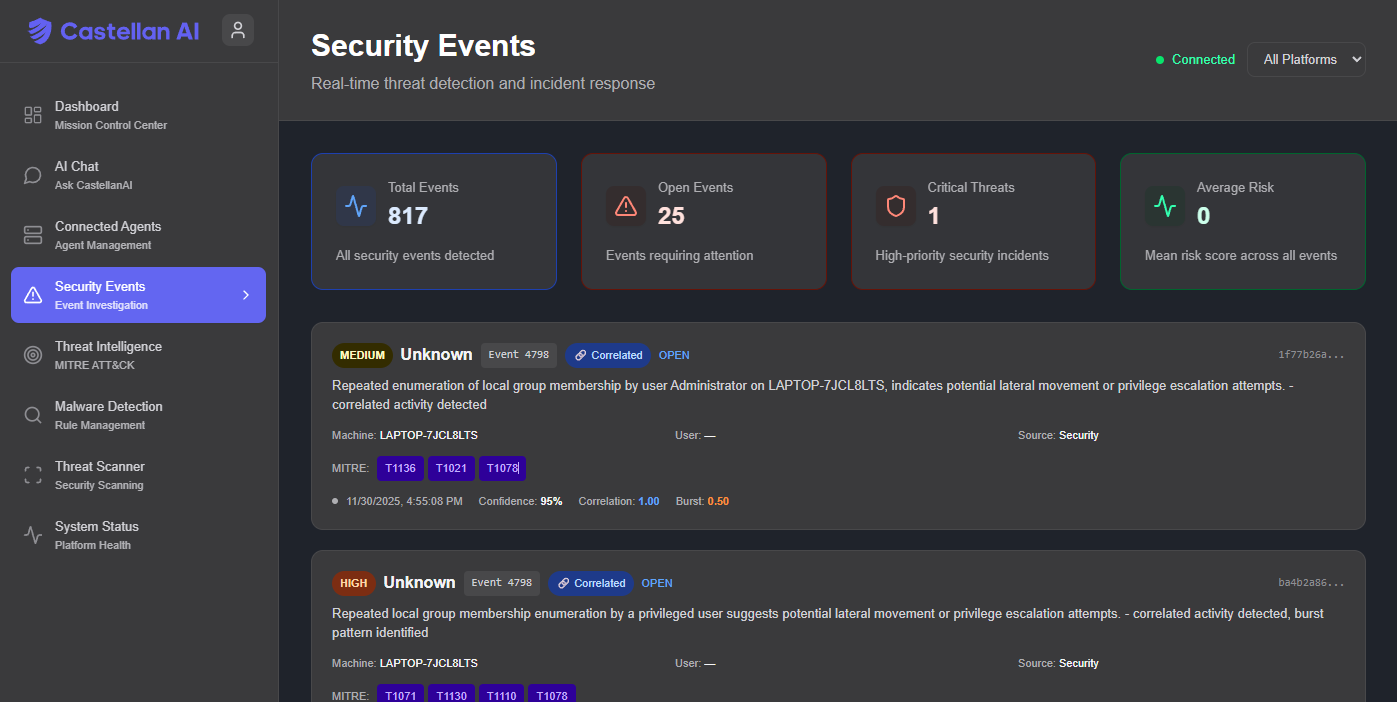 The Security Dashboard showing real-time security events from your monitored endpoints.
The Security Dashboard has its own URL unique to your account. You can bookmark it for direct access, or always access it via the Customer Portal.
Troubleshooting
❌ Agent doesn't appear in the Portal
If your agent doesn't appear after installation:
- Check the agent service is running:
- Windows
- Linux
- macOS
Get-Service CastellanAgent
sudo systemctl status castellan-agent
sudo launchctl list | grep castellan
- Verify network connectivity to the Worker API
- Review agent logs:
| Platform | Log Location |
|---|---|
| Windows | %LOCALAPPDATA%\CastellanAgent\logs |
| Linux | /var/log/castellan-agent |
| macOS | ~/Library/Logs/CastellanAgent |
🔌 Connection issues
Ensure your firewall allows outbound connections:
| Protocol | Port | Destination |
|---|---|---|
| HTTPS | 443 | api.castellanai.com |
| WSS | 443 | api.castellanai.com |
🔑 Invalid Customer ID or Hub URL
- Log in to the Customer Portal
- Navigate to Settings → Agent Configuration
- Copy the correct values
- Reconfigure the agent with the correct credentials
What's Next?
- Account Setup - Complete your account configuration
- Dashboard Tour - Learn about the Portal interface
- Invite Your Team - Add team members
Contact support@castellanai.com for assistance.